10. Calibration, One Point Technique
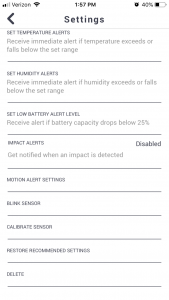
1) From the Settings screen, tap the Calibration Sensor.
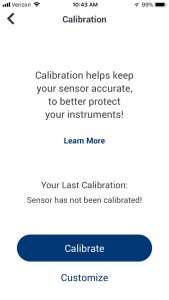
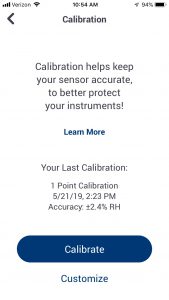
2) From this screen, you can tap the Learn More button to access an FAQ about calibration. The screen will also provide information of the last time and how the sensor was calibrated. To begin the calibration process, tap the Calibrate button.
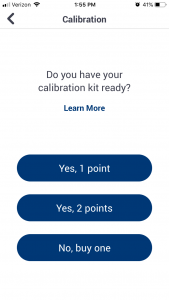
3) From this screen, you can choose which calibration technique you want to use by tapping either the 1 Point or 2 Points button. If you do not have a Boveda Calibration Kit, you can purchase one by tapping the Buy One button. For a 1 Point calibration, tap Yes, 1 Point.
4) Instructions are provided on how to set up the calibration, but for more information on using the kit, tap Learn More. Once the sensor is in the sealed 75% RH calibration kit bag, tap I’m Ready, Start.

5) The calibration has now started and must continue for a full 24 hours.
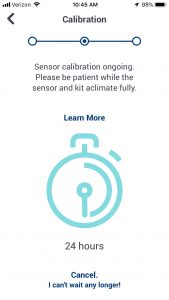
6) As the calibration progresses, the App counts down the time remaining. The App will let you know when the calibration has completed.

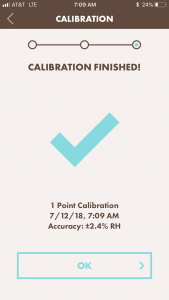
7) When the calibration finishes, tap the OK button.
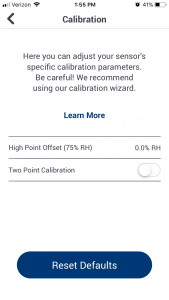
8) The calibration Summary screen will appear next showing the information for the calibration. To view the offset applied to the RH, tap the Customize button.
9) To view the High Point Offset, tap the Customize button. Then tap the Back button in the upper left-hand corner of the screen to exit calibration.